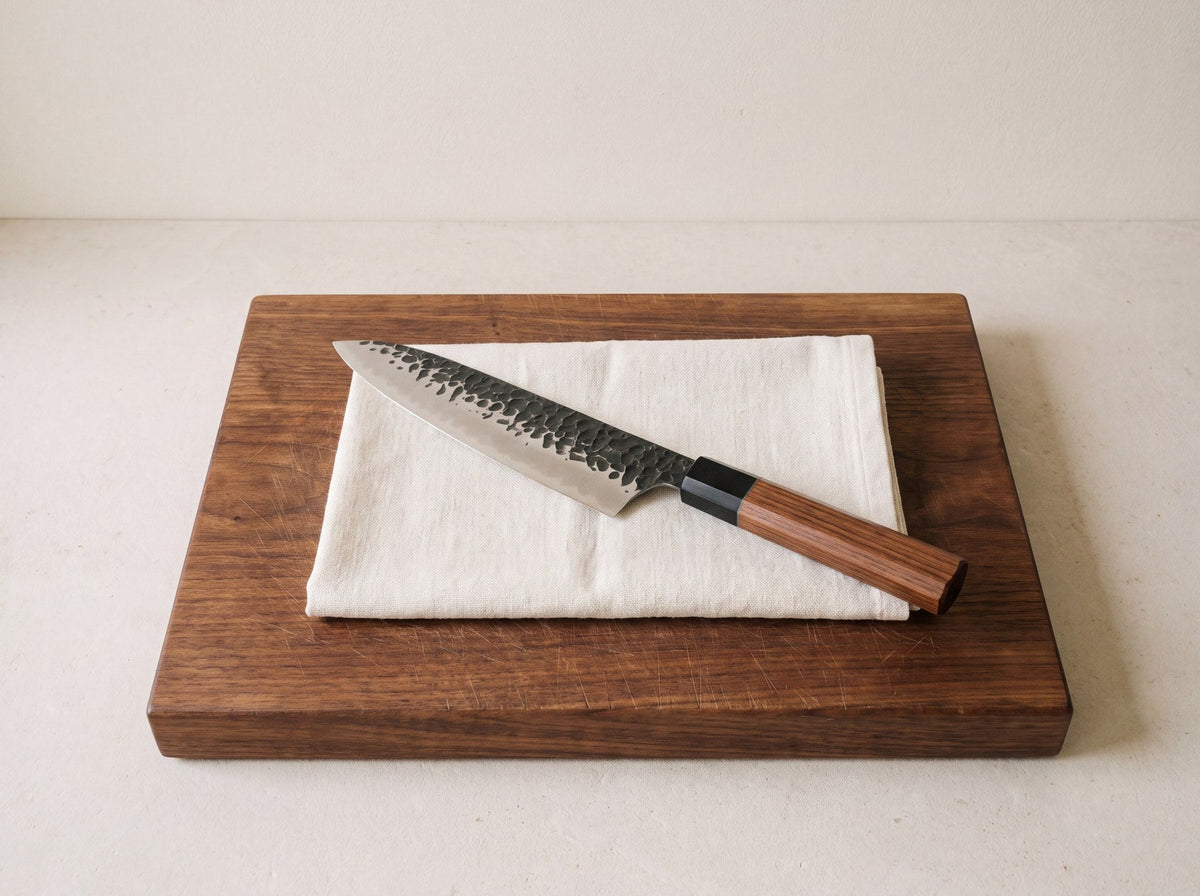
A Japanese chef knife carries a thinner, harder edge than most Western kitchen knives, and that edge rewards a slightly different routine. Once you know the angle to hold and which stone to reach for, sharpening at home takes about a quarter of an hour and becomes a simple habit rather than a chore you put off for months.
The short version: use a whetstone, not a pull-through sharpener or a ridged honing steel. Hold the blade at about 15 degrees, work each side on a 1000 grit stone until you feel a small burr, then polish on a 3000 to 6000 grit stone with lighter strokes.
Why a Japanese Edge Needs a Different Approach
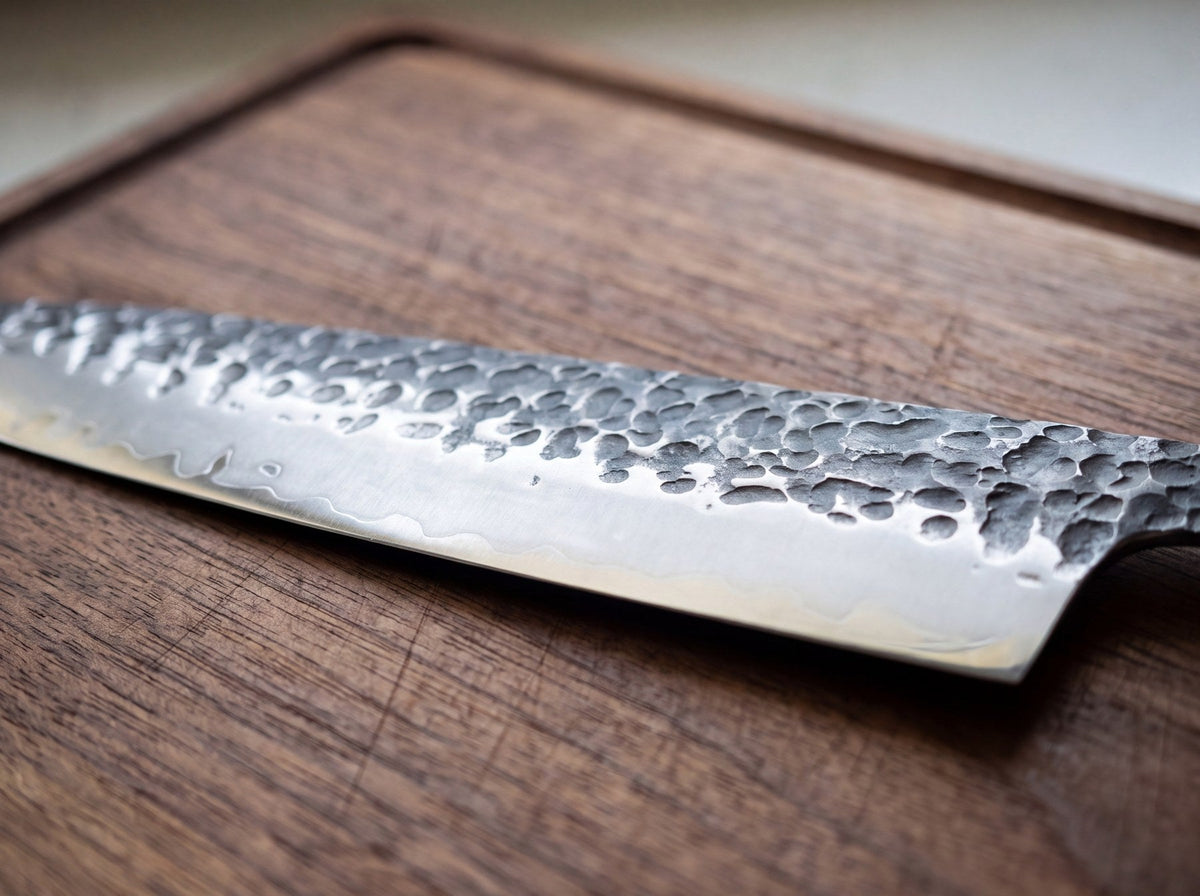
A Gyuto or Santoku is ground thin behind the edge, and the steel is hard. HARUTANI knives use a VG-10 core hardened to 60 ±2 HRC, inside 67 layers of Damascus cladding. That combination is what lets the blade glide through food and stay sharp for a long time, but it also means the edge is fine and less flexible than a softer Western blade.
Two common tools work against that edge. A pull-through sharpener is usually set for the wider angle of Western knives, so it grinds a thin Japanese edge to the wrong shape. A ridged honing steel can chip or roll a hard edge instead of straightening it; if you want a quick refresh between sharpenings, a fine ceramic rod or a leather strop, used gently, is the safer choice.
A whetstone, worked by hand at the right angle, removes a little steel evenly and keeps the geometry the knife was made with. Our Japanese Knife Steel Guide explains how hardness and angle connect.
The Angle to Hold
Every HARUTANI knife ships with a hand-finished edge of 12 to 15 degrees on each side. At home, aim for about 15 degrees and you will match it closely. Holding the same angle from heel to tip matters more than hitting an exact number: a wobbling angle leaves a rounded, uneven edge.
An easy way to find 15 degrees by eye: stand the blade upright on the stone at 90 degrees, tilt it halfway to 45, halfway again to about 22, then lower the spine a little more. A clip-on angle guide on the spine is a good help for your first few sessions.
Choosing Your Whetstone Grit
Whetstones are graded by grit number: the lower the number, the coarser the stone and the more steel it removes.
| Grit | What it does | When to use it |
|---|---|---|
| 220 to 400 | Repairs chips and very dull edges | Only for chips or damage |
| 800 to 1000 | Your main stone: sets a fresh edge | When the edge stops biting |
| 3000 to 6000 | Polishes and removes the burr | After the 1000 stone, or for a light refresh |
A two-stone setup, one around 1000 grit and one in the 3000 to 6000 range, covers nearly everything a home kitchen needs. A combination stone with 1000 on one face and 6000 on the other is an easy way to start.
What You Need
- A medium stone around 1000 grit and a fine stone between 3000 and 6000 grit.
- A non-slip base: a stone holder or a damp kitchen towel folded under the stone.
- Water in a small bowl to keep the stone surface wet while you work.
- A clean, dry towel for the blade when you finish.
Step by Step: Sharpening on a Whetstone
- Prepare the stone. Soaking stones need 10 to 15 minutes in water, until bubbles stop rising. Splash-and-go stones only need their surface wetted. Follow the maker's instructions for your stone.
- Set up a stable base. Place the stone on its holder or a damp towel, coarse side up, with the long side facing you. It must not slide while you work.
- Hold the knife. Grip the handle in your dominant hand with the edge facing away from you. Rest two or three fingertips of your other hand on the flat of the blade, well behind the edge, to guide light, even pressure.
- Find your angle. Lower the blade to about 15 degrees and keep your wrist locked so the angle stays the same through every stroke.
- Sharpen the first side in sections. Work the heel, the middle and then the tip, 10 to 20 smooth strokes on each part, pressing a little on the forward stroke and easing off on the way back. At the curved tip, lift the handle slightly so the edge stays flat to the stone at the same angle. Keep the stone wet.
- Feel for the burr. On the other side of the blade, slide your thumb gently from the spine down toward the edge and off it, never along the edge. A slight rough lip along the full length tells you that side is done.
- Flip and repeat. Turn the knife over and sharpen the second side the same way, with the same angle and roughly the same number of strokes, until a burr forms on the first side.
- Polish on the fine stone. Repeat both sides on the 3000 to 6000 grit stone with lighter pressure. Finish with a few single, alternating strokes on each side with almost no pressure to remove the burr.
- Clean up. Wash the blade by hand with warm water and mild soap, then dry it completely. Rinse the stone and let it air dry away from direct heat before you put it away.
Safety note: keep your guiding fingers on the flat of the blade and behind the edge at all times, and work slowly: speed adds nothing to sharpness. Never test the edge by running a finger along it, and wipe the blade from the spine side with the edge turned away from your hand.
Testing the Edge
Hold a sheet of printer paper by one corner and slice down into it. A sharp Japanese edge cuts cleanly with almost no pressure. A ripe tomato is the kitchen test: the blade should bite into the skin without you pressing down. If the edge snags in one spot, give that section a few more light passes on the fine stone.
When to Sharpen
Sharpen by feel, not by the calendar. The signs it is time: the blade slips on a tomato skin instead of biting in, onions crush rather than slice, or you find yourself pressing harder than before. For many home cooks who cook most days, that works out to a full session on the stones every few months, but your own knife, board and cooking decide the timing.
Between sessions, you can refresh the edge with a fine ceramic rod or a leather strop: a few light strokes on each side at the same angle as the edge, with almost no pressure. When a gentle strop no longer brings the bite back, go back to the whetstone.
Your cutting board and daily care decide how long the edge lasts. Wood and plastic boards are kind to it, while glass, stone and ceramic dull it quickly. Hand washing and drying right after use help too; see How to Care for a Japanese Knife for the full routine.
Common Mistakes to Avoid
- Pressing too hard. Heavy pressure tears the fine edge and wears the stone unevenly. Let the stone do the work.
- Changing the angle mid-stroke. A rocking wrist rounds the edge. Lock the wrist and move from the shoulder.
- Moving on before a burr forms. Without a burr along the full length, the edge has not been reached yet.
- Using a dished stone. A whetstone wears into a shallow dip over time. Flatten it every few sessions with a flattening plate so the angle stays true.
Keeping Your HARUTANI Knife Sharp
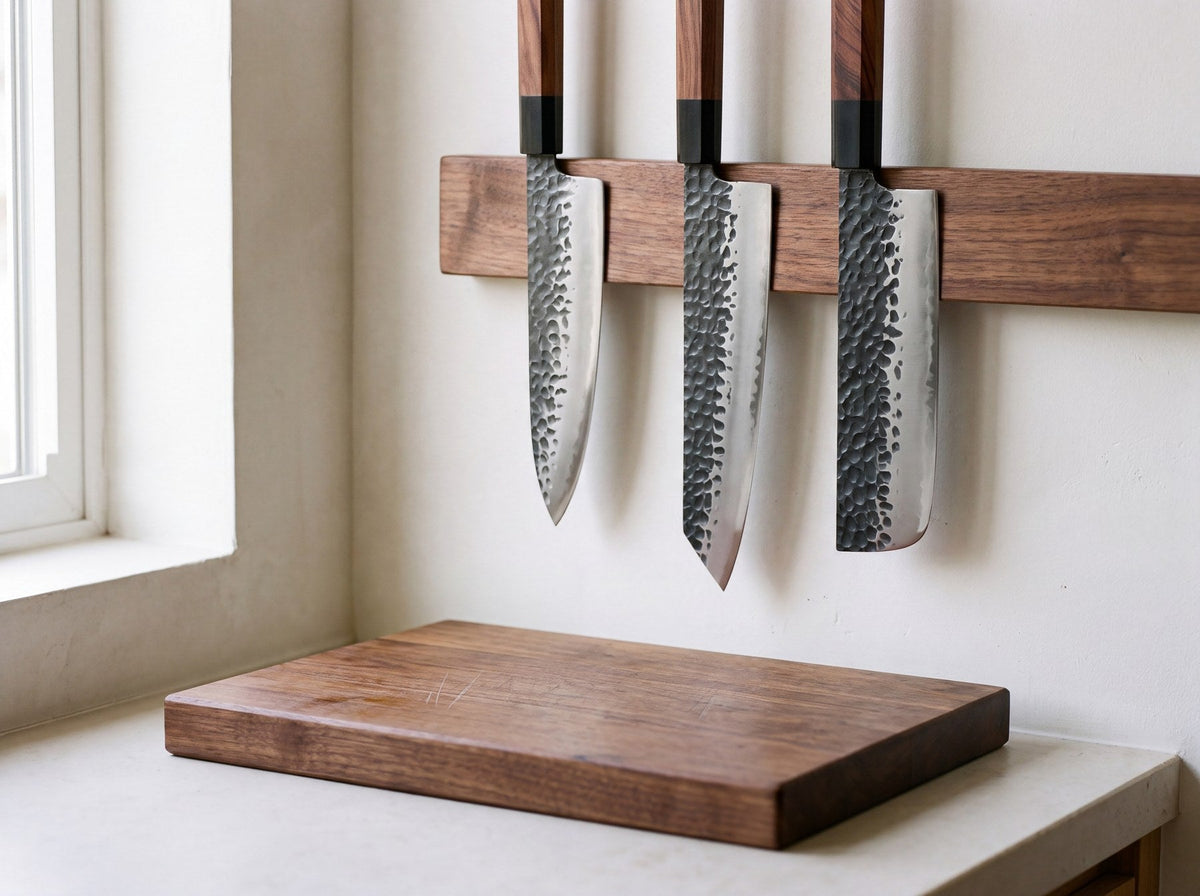
Every HARUTANI knife shares the same VG-10 core and the same 12 to 15 degree edge, so the routine above works across the range, from an everyday Gyuto to a Santoku or a Nakiri. Learn one angle and one set of stones, and you can keep every knife in your block sharp.